| Home |
| Green Building Bible, Fourth Edition |

|
These two books are the perfect starting place to help you get to grips with one of the most vitally important aspects of our society - our homes and living environment. PLEASE NOTE: A download link for Volume 1 will be sent to you by email and Volume 2 will be sent to you by post as a book. |
Vanilla 1.0.3 is a product of Lussumo. More Information: Documentation, Community Support.
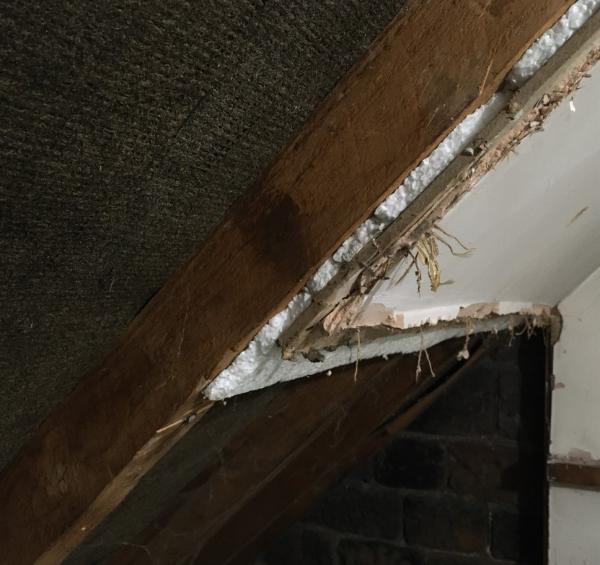
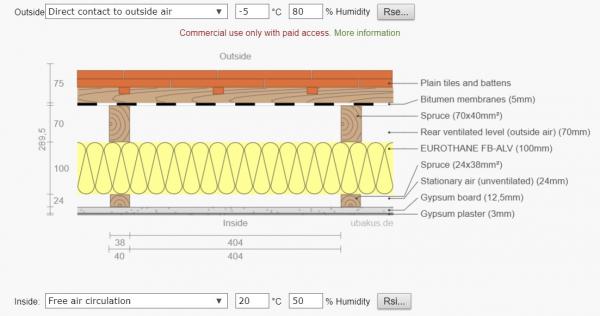
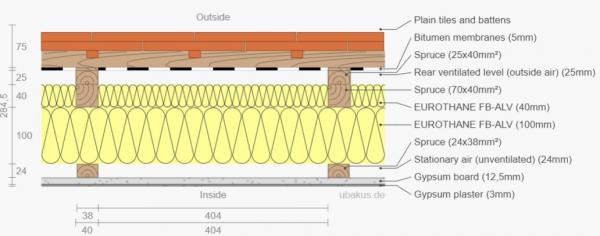
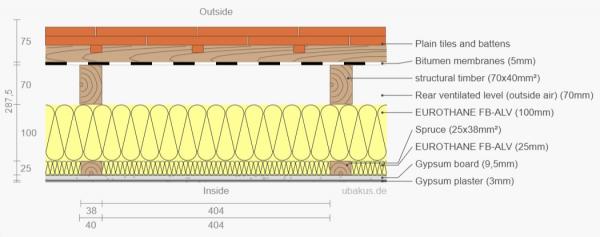
Posted By: DavycrocketCould you not have boarded over the orginal PB with PIR and stuck that and the new PB on with a suitable adhesive ?
I'm thinking of doing this unless someboy has experienced a failure of such a scheme ?
Posted By: DavycrocketWhat wouldn't you trust about the adhesive mate ?
Posted By: DavycrocketCould you not have boarded over the orginal PB with PIR and stuck that and the new PB on with a suitable adhesive ?

1 to 30 of 30